Drawing a snail may seem simple, but it is an art that requires attention to detail and creativity. Whether you're a beginner or an experienced artist, learning how to draw a snail can be both fun and rewarding. Snails are fascinating creatures with unique shapes and textures, making them an excellent subject for artistic exploration. In this article, we will guide you through the process of drawing a snail, providing tips, techniques, and insights to help you create a realistic and captivating piece of art. By the end of this guide, you'll have the skills to draw a snail that captures its essence and beauty.
Drawing is not just about replicating what you see; it's about understanding the subject and expressing its character through your art. Snails, with their spiral shells and slimy bodies, offer a perfect opportunity to practice observation and creativity. This article is designed to be beginner-friendly while also offering valuable insights for more advanced artists. We'll cover everything from basic shapes to shading techniques, ensuring that you have all the tools you need to succeed.
Whether you're drawing for fun, as a hobby, or to improve your artistic skills, this guide will provide you with the knowledge and confidence to tackle the challenge. By following the steps outlined here, you'll not only learn how to draw a snail but also develop a deeper appreciation for the intricate details of nature. Let's dive into the world of snail drawing and unlock your artistic potential!
Read also:Jimmy Johns 1000 Meal A Comprehensive Guide To Affordable And Delicious Dining
Table of Contents
- Introduction to Drawing a Snail
- Essential Materials for Drawing
- Step-by-Step Guide to Drawing a Snail
- Understanding Snail Anatomy
- Mastering Shading Techniques
- Adding Details to Your Drawing
- Common Mistakes to Avoid
- Inspiration from Famous Artists
- Practicing and Improving Your Skills
- Conclusion and Next Steps
Introduction to Drawing a Snail
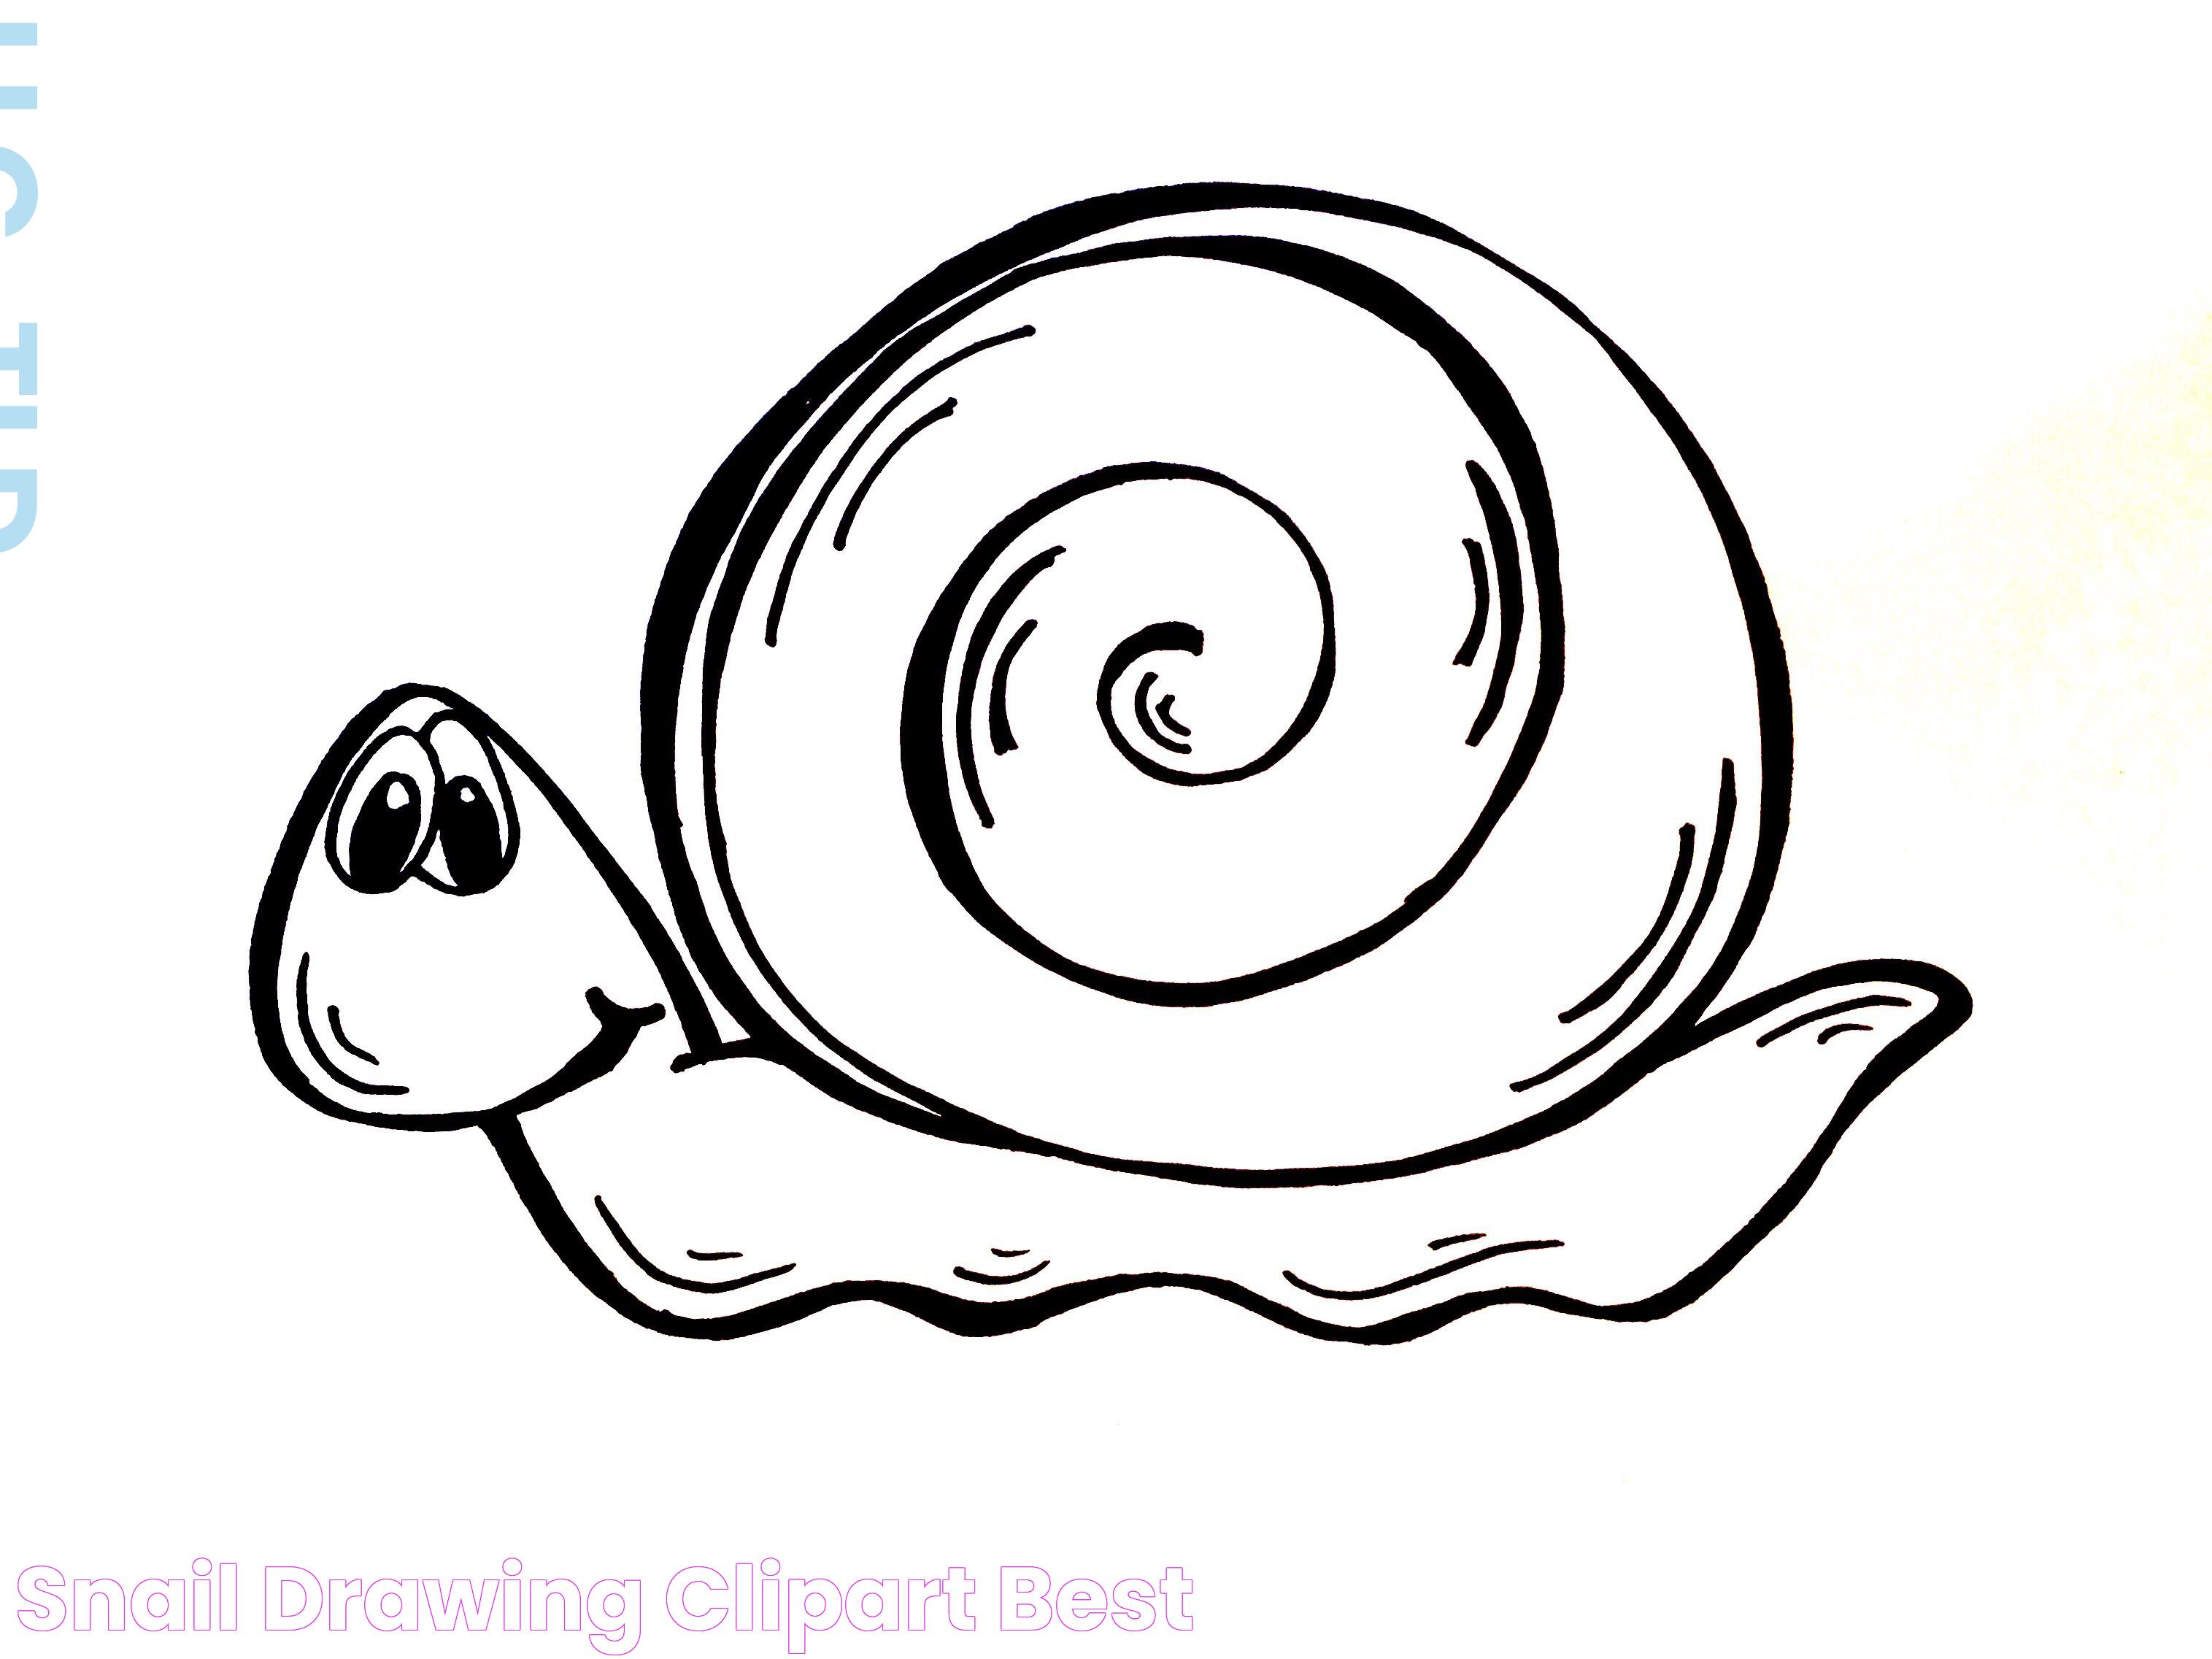
Snails are often underestimated as artistic subjects, but they offer a wealth of opportunities for creativity. Their spiral shells, soft bodies, and unique textures make them an ideal choice for artists looking to improve their observational skills. Drawing a snail is not just about replicating its form; it's about capturing its essence and personality. Whether you're sketching for fun or working on a detailed piece, understanding the basics is crucial.
Before diving into the drawing process, it's essential to familiarize yourself with the subject. Spend some time observing snails in their natural habitat or studying photographs. Pay attention to their proportions, the way their shells curve, and the texture of their bodies. This preparation will help you create a more accurate and engaging drawing. Additionally, understanding the context of snails in art can inspire your work and give it a deeper meaning.
Snails have been depicted in art for centuries, symbolizing patience, perseverance, and the passage of time. By incorporating these themes into your drawing, you can elevate it from a simple sketch to a meaningful piece of art. This section will serve as your foundation, preparing you for the steps ahead and ensuring that you approach the task with confidence and creativity.
Essential Materials for Drawing
To create a stunning drawing of a snail, you'll need the right materials. The tools you choose can significantly impact the quality of your work, so it's important to select them carefully. Here's a list of essential materials that every artist should have:
- Pencils: A range of graphite pencils (2H to 6B) is ideal for sketching and shading. Harder pencils (2H) are great for light outlines, while softer pencils (6B) are perfect for darker shading.
- Paper: Use high-quality drawing paper with a smooth or slightly textured surface. This will allow you to create fine details and smooth gradients.
- Eraser: A kneaded eraser is excellent for lifting highlights and correcting mistakes without damaging the paper.
- Blending Tools: Tortillons or blending stumps can help you achieve smooth transitions in shading.
- Reference Images: Having high-resolution photos of snails will help you capture their details accurately.
Choosing the Right Pencil
When it comes to pencils, variety is key. A set of graphite pencils with varying hardness levels allows you to create a wide range of tones and textures. For example, a 2H pencil is perfect for light outlines, while a 6B pencil can be used to create deep shadows and rich textures. Experimenting with different pencils will help you discover which ones work best for your style and technique.
Importance of Quality Paper
The type of paper you use can make or break your drawing. High-quality paper with a smooth or slightly textured surface is ideal for detailed work. It allows you to create fine lines and smooth gradients without the paper fibers interfering with your strokes. Additionally, thicker paper is less likely to tear or buckle under heavy shading, ensuring that your drawing remains intact.
Read also:Chicken Of The Sea A Comprehensive Guide To The Beloved Seafood Brand
Step-by-Step Guide to Drawing a Snail
Now that you have your materials ready, it's time to start drawing! Follow these steps to create a realistic and captivating snail drawing:
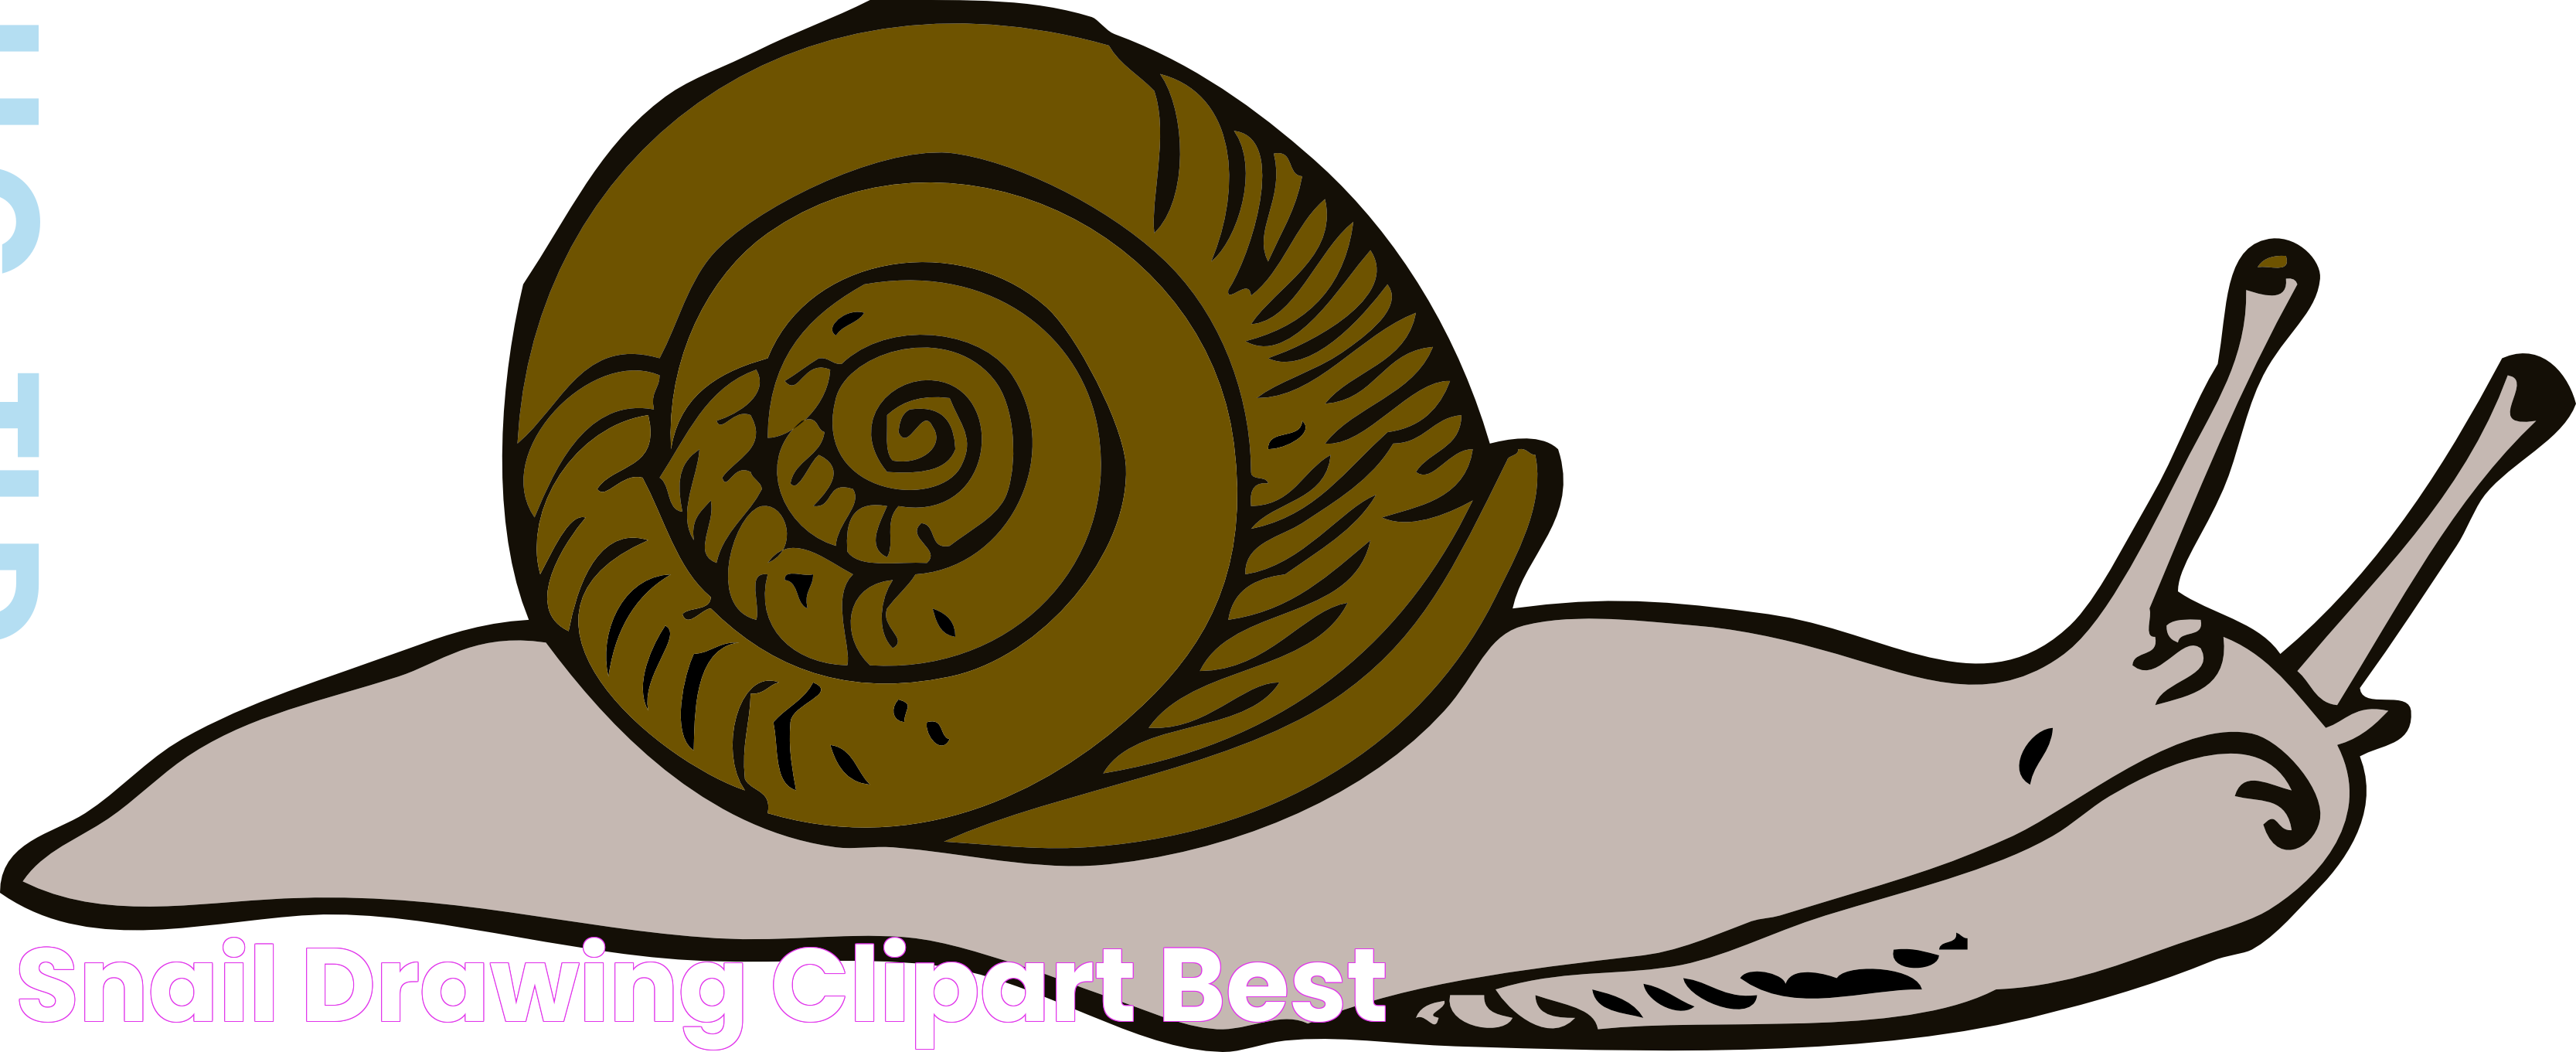
- Step 1: Sketch the Basic Shapes - Begin by lightly sketching the basic shapes of the snail. Use an oval for the shell and a teardrop shape for the body. These simple shapes will serve as the foundation for your drawing.
- Step 2: Add Details to the Shell - Focus on the spiral pattern of the shell. Start from the center and work your way outward, using curved lines to create the ridges. Pay attention to the proportions and spacing between the ridges.
- Step 3: Outline the Body - Refine the shape of the snail's body by adding curves and contours. Pay attention to the texture of the skin and the placement of the tentacles.
- Step 4: Add Texture to the Shell - Use short, curved lines to create the texture of the shell. Vary the pressure of your pencil to achieve a realistic effect.
- Step 5: Shade the Drawing - Begin shading the shell and body, starting with light tones and gradually building up to darker areas. Use blending tools to create smooth transitions.
- Step 6: Final Touches - Add highlights and fine details to bring your drawing to life. Use an eraser to lift highlights and create a glossy effect on the shell.
Tips for Achieving Realistic Shading
Shading is one of the most important aspects of drawing a snail. To achieve realistic results, focus on the following tips:
- Start with light, even strokes and gradually build up the shading.
- Use a blending tool to smooth out transitions between light and dark areas.
- Pay attention to the direction of the light source to create consistent shadows.
Understanding Snail Anatomy
To draw a snail accurately, it's essential to understand its anatomy. Snails have two main parts: the shell and the body. The shell is a hard, spiral structure that protects the snail's internal organs, while the body is soft and slimy, allowing the snail to move. The body consists of the head, foot, and visceral mass, each with its own unique features.
The shell is the most distinctive part of a snail and is often the focal point of drawings. It is made of calcium carbonate and has a spiral shape that varies depending on the species. The ridges on the shell are formed as the snail grows, creating a unique pattern that can be captured in your drawing. The body, on the other hand, is covered in mucus, which gives it a glossy appearance. Paying attention to these details will help you create a more realistic and engaging drawing.
Mastering Shading Techniques
Shading is a crucial skill for any artist, and mastering it can take your drawings to the next level. When drawing a snail, shading can help you create depth, texture, and realism. Here are some techniques to consider:
- Cross-Hatching: This technique involves drawing intersecting lines to create shading. It's perfect for adding texture to the shell.
- Stippling: Stippling involves creating shading with small dots. This technique is ideal for adding fine details to the snail's body.
- Blending: Use blending tools to smooth out transitions between light and dark areas. This technique is essential for creating a realistic glossy effect on the shell.
Using Light and Shadow Effectively
Understanding how light interacts with the snail's shell and body is key to creating a realistic drawing. Pay attention to the direction of the light source and use it to guide your shading. Highlight areas where the light hits the shell and create shadows where the light is blocked. This contrast will add depth and dimension to your drawing.
Adding Details to Your Drawing
Details are what make a drawing stand out. When drawing a snail, focus on the following elements to add depth and realism:
- Shell Texture: Use short, curved lines to create the ridges and grooves on the shell. Vary the pressure of your pencil to achieve a realistic effect.
- Tentacles: Snails have two pairs of tentacles, with the longer pair housing their eyes. Pay attention to their placement and shape.
- Mucus Trail: Add a subtle trail of mucus behind the snail to enhance the realism of your drawing.
Common Mistakes to Avoid
Even experienced artists can make mistakes when drawing a snail. Here are some common pitfalls to watch out for:
- Overworking the Drawing: Avoid over-shading or adding too many details, as this can make your drawing look cluttered.
- Ignoring Proportions: Pay attention to the size and placement of the shell and body to ensure they are proportionate.
- Neglecting Light and Shadow: Failing to consider the light source can result in a flat and unconvincing drawing.
Inspiration from Famous Artists
Many famous artists have drawn inspiration from nature, including snails. For example, the surrealist artist Salvador Dalí often incorporated snails into his work, using them as symbols of time and transformation. Studying the works of these artists can provide valuable insights and inspiration for your own drawings.
How to Incorporate Inspiration into Your Work
Take the time to study the techniques and styles of famous artists. Pay attention to how they use light, shadow, and texture to create depth and realism. Incorporating these elements into your own work can help you develop your unique style and elevate your drawings.
Practicing and Improving Your Skills
Like any skill, drawing requires practice and dedication. The more you draw, the better you'll become. Here are some tips to help you improve:
- Set Aside Time for Practice: Dedicate a specific time each day or week to practice drawing.
- Experiment with Different Techniques: Try new shading techniques and styles to expand your skill set.
- Seek Feedback: Share your work with others and ask for constructive criticism to identify areas for improvement.
Conclusion and Next Steps